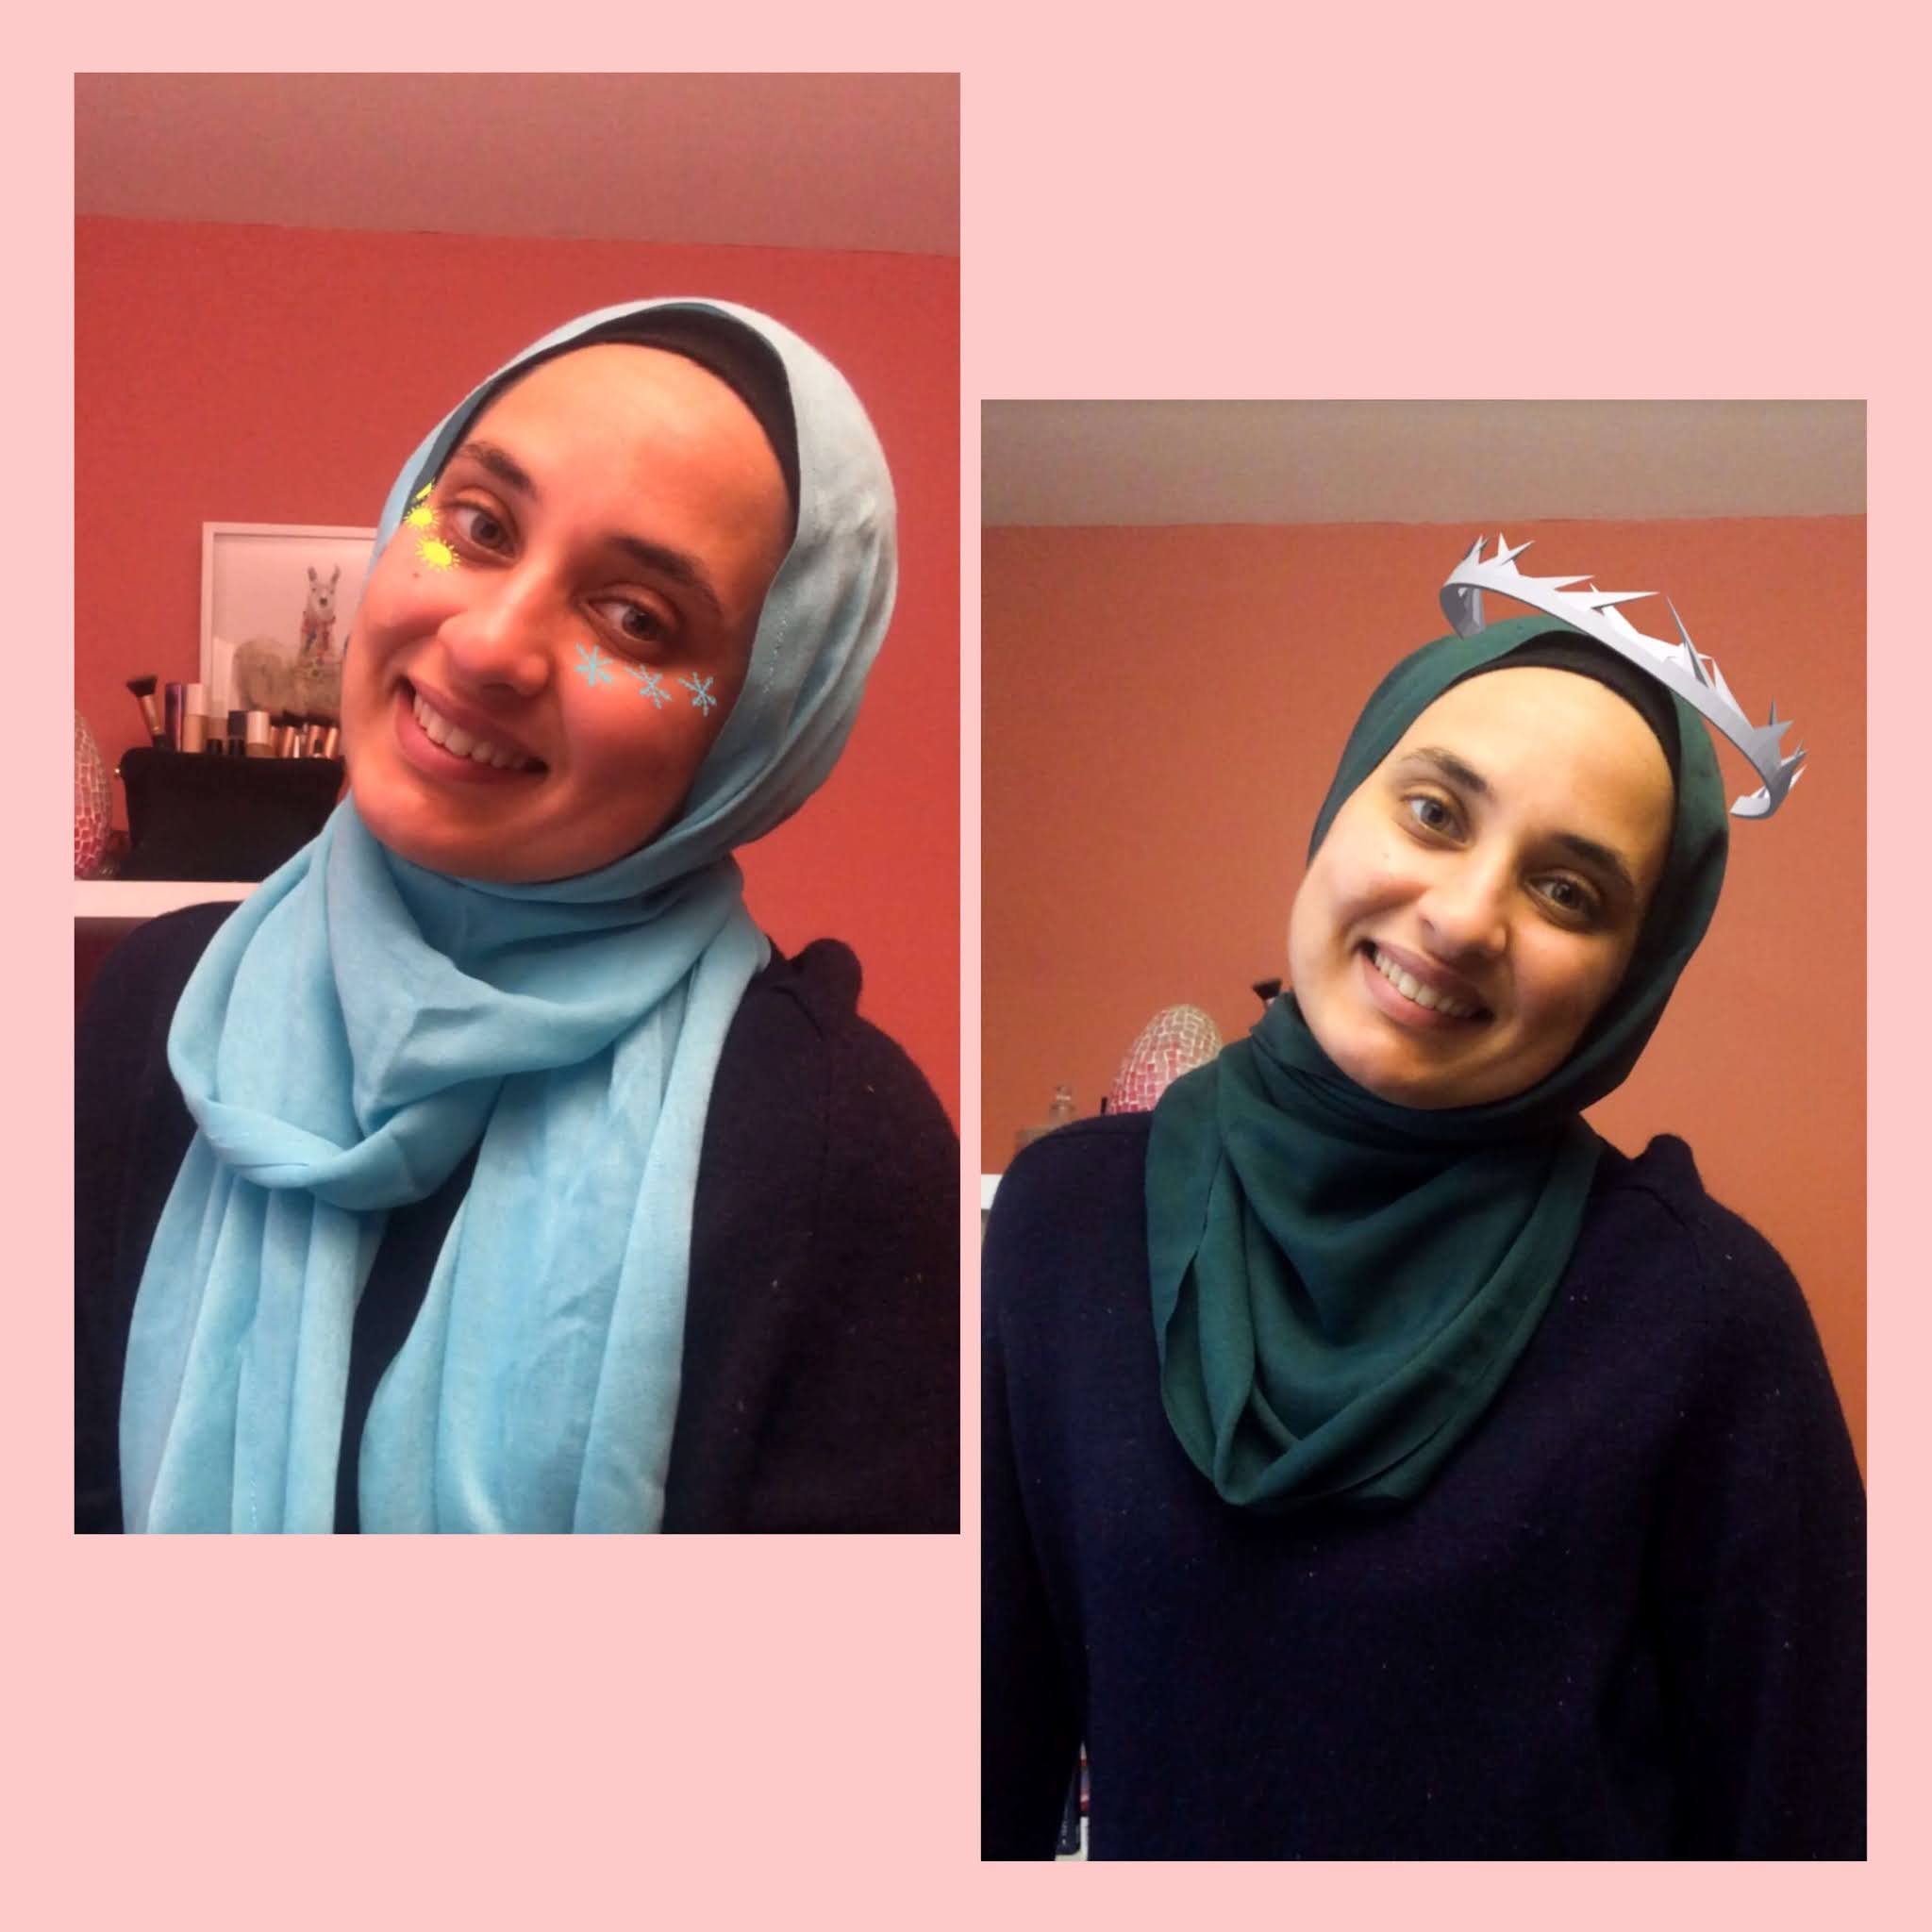
The short answer: tears of joy and frustration.
The long answer: this blog post.
So, I decided to make myself a challenge every month for a tech side project. I'd fill up words, quotes, movie/film titles in a jar, mix them up and select one every month and base a tech side project on it. I thought of this idea a little bit after January started, so I decided to self-select the word Flame to get me started. For flame, the first thing that came to mind was We Hunt the Flame by Hafsah Faizal. And then I thought of Blender, 3D modeling software that I have a love hate relationship with, and Instagram filters. So, let's talk about my thought process on how I made it to the finish line that is 2 Instagram filters to possibly help you get to the end of yours.
STEP 1: Once you have a gist of an idea, it's time for you to create a Pinterest Moodboard.
Who would we all be without Pinterest to give as all the vibes we're looking for. It's a gift of an app. So I didn't have a concrete idea of what type of Instagram filter I wanted to create - I only knew I wanted to create one with the 3D modeling Software Blender (hey! it's free!) and one that was a ~regular one~.
I'd scroll, pin something, and then just keep scrolling without actually pinning anything really, just to absorb the ~vibe~ of the book We Hunt the Flame through visuals. If you're curious, here is what my board looked like: WHTF vision board for Instagram Filter. Not much, but enough for me to wrap a world together in my mind.
STEP 2: Grab a sketchbook and jot down some ideas and sketches.
Once I visually had the world in my mind, I grabbed my bullet journal (ya girl fell off the official bullet journal train but that's a story for another day) - and I started jotting down some notes. I knew for the main characters - Zafira and Nasir - they were both skilled with archery. So I knew I wanted something with archery in there.
I started to sketch my version of an arrow and then thought of Nasir - the crown prince. And that's where I got my idea of a crown for Nasir. I then took a quick search to Pinterest for crowns, in which I got tiaras. Which was, although I then took a year detour looking at all the tiaras, not what I was looking for. In my first sketches, I had the idea of there being a half circle base at the bottom and two arrows crossed then a half circle layered on top. Later I realized this was a nope idea but that was my initial sketch. If there's one thing I will say: DO NOT GET ATTACHED TO YOUR DRAWINGS.
For the second Instagram Filter idea, I knew I wanted to do a set drawing one, not a 3D object one - where it would be positioned on the face where I positioned it in my art file I created. And this is where I thought of Zafira and Nasir as a unit. For Zafira, there was a line in the book describing a belt with Snowflakes for Hunters in Demenhur. So I decided to make a snowflake out of arrows. Three snowflakes on one side, and three suns to represent Nasir from Sultan's Keep and Sarasin to go under eyes.
STEP 3: [For the crown] this is where you'd open up a 3D Modeling Software, in my case this was Blender.
Blender thankfully is free and there are great tutorials on YouTube. There is one specific one that helped me with the basics from Blender Guru. I didn't finish the tutorial in its entirety, just did a few videos to understand the environment and how I would go about making my crown. To make my crown, that actually took a lot of looking at Blender documentation, and also looking up specific things on YouTube to help me along.
If you'd like a collection of videos I used on my crown making journey, here is a playlist: Blender Crown Help
With 3D modeling for Instagram filters I'd say my advice would be: don't create something so so detailed. That detail might look all perfect in 3D modeling software but when actually seeing it in place in an Instagram filter, it might not look right. When you create one component of the thing you're making, bring it to your Spark AR Environment to test out how it looks and then you can adjust your design if needed.
It's a lot of trial and error, but that satisfaction when it's complete! UNMATCHED
Step 3: [for the sun and snowflakes] Take a photo of your sketch, and open it up either in Photoshop or a free version of photoshop that I use called Sketchbook.
In Sketchbook, insert the photo you took in one layer. Create another layer, and this is where your work will be. You will be tracing your sketches in this new layer with respective colors for it. In my case I had a snowflake and sun, so I used selected a blue pen and started to trace the snowflake from the photo I inserted in.
 |
| gotta love that lighting was not with me when I took these photos. I tried doing the filter justice, the snowflake details! |
Step 4: Insert in Spark AR
For 3D objects in Blender: You must export and save as a .obj file. I used this video to learn how to import my 3D object as a .obj file in Spark AR: Import 3D Models (Blender Donut, Animation) Filter effect | Instagram & Facebook | Spark AR Tutorial
For regular art file in Sketch: Save as PNG, I saved mine with a transparent background.
Spark AR is an augmented reality platform for Mac and Windows users to create mobile filter effects. All I needed to do was login with my Facebook and then I was good to go. Oh, and yes, this is also free to download!
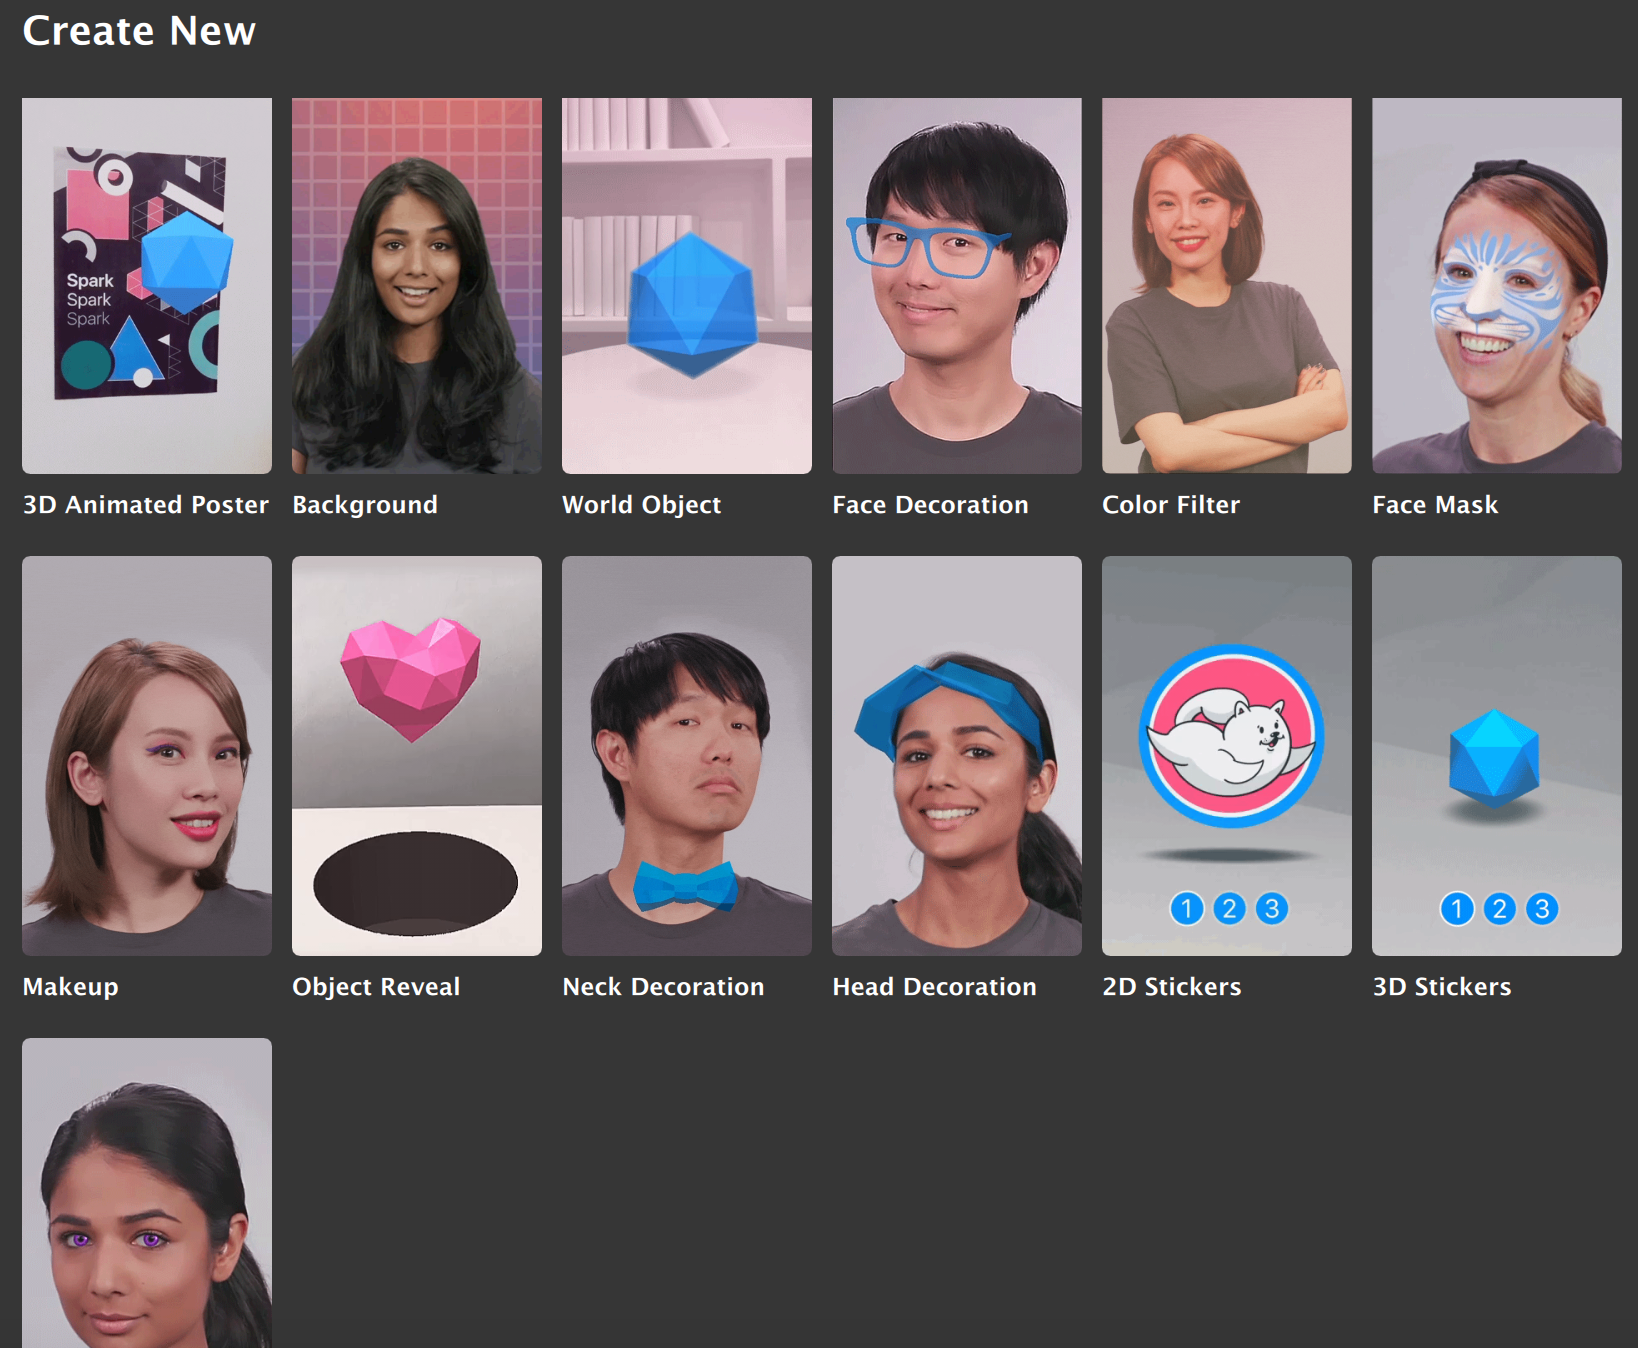
When opening Spark AR select one of the templates that is similar to where your thing will be positioned in the filter, and then Spark AR itself walks you through on where to place your asset. For my crown I chose Head Decoration and for my Suns + Snowflakes I chose Face Mask.
And there we have it! The thought process behind my Instagram filters, and how to go about creating your own. At the moment my Instagram filters are living their best life on my computer, but I am hoping to submit them soon!
Have you ever thought of creating an Instagram filter? Let's get chatting!


